Creating Accessible Documents in Microsoft Word
Accessibility Strategies for Microsoft Word
Alternative (Alt) Text
An important feature in Microsoft Word is to add alternative text to an object or image. The description should be short and effectively communicate the purpose and/or content of the image.
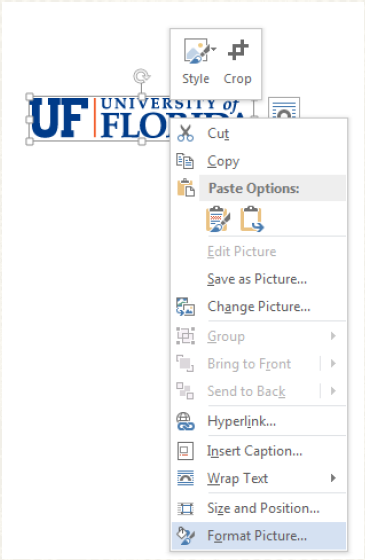
To add Alt text, please right click on an image and select Format Picture

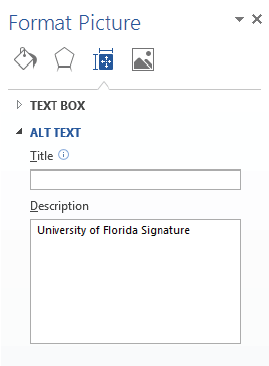
Provide a description of the image or object in the ‘Description’ and not in the ‘Title’

Headings
Utilizing built-in headings provides a hierarchy and organizational framework will help readers navigate the document in a more effective way.
Headings should form an outline of the document where ‘Heading 1’ is used for the main title or heading of the document and ‘Heading 2’ and so on are used for sub-headings.
An individual using assistive technology can therefore determine the organization of the content while navigating from heading to heading.

Tables
When using Tables, try to use 6 columns or less.
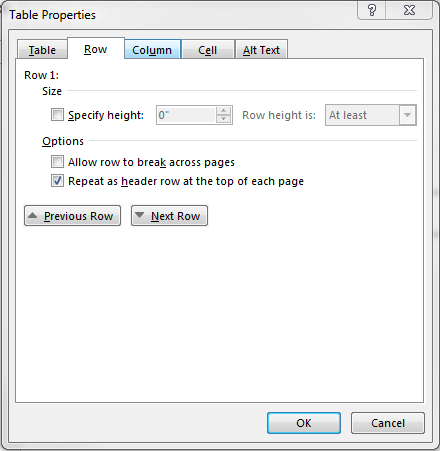
In the ‘Design’ tab, make sure the ‘Header Row’ and ‘First Column’ boxes are checked. In addition, right click on the table and select ‘Table Properties’ and click the ‘Row’ tab and check the box that says ‘Repeat as header row at the top of each page.’


Checking for Accessibility
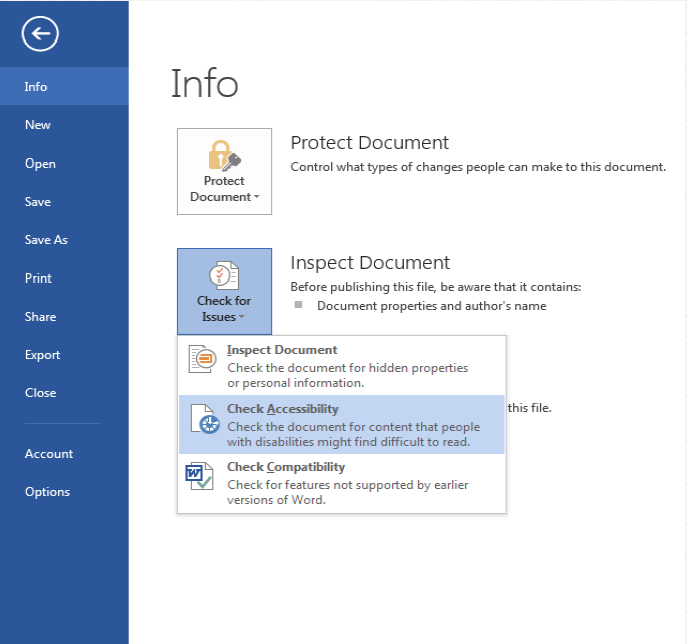
Once you are finished, you can scan the Word document by clicking on the feature ‘Accessibility Checker’. By doing so, the feature will highlight and explain accessibility issues it found. You can then go back into the document to fix any of the issues before you save the document.

For additional information on making your document more accessible in Microsoft Word, please feel free to visit Creating accessible Word documents at Office Support.
